Showing posts with label album. Show all posts

Wednesday, January 4, 2012

New Girl Book

During my sick day today (after I finished being sick), I managed to finish a book I started on that I made using paper I picked up after Thanksgiving on sale. I have no reason to make it, other than the paper was cute and I've been wanting to use Kate's ABC's. 


Another cute view of the front :-)

Wednesday, April 27, 2011

Black/Purple Butterfly Album

Here is a small album I made a week or so ago with the paper I’ve been DYING to use. 
 It’s black and white, with purple/teal accents, and I used chipboard die cuts and pretty butterflies to decorate it. I’ve just got to add that I LOVE my cinch Kymberlee sent me for Christmas, and I LOVE the French Manor cartridge from the Circle. It’s my go-to for prettiness!


 I also included a beautiful flower I made with my cuttlebug quilling kit Kymberlee sent awhile back. I love making flowers with it. I have no idea what to do with the book, so I told my little sister she needed to get a purple prom dress so she can have it!


In other news, I am SOOO close to being finished with Whitney’s baby book. Just need to integrate seasonal pages with a safari theme! (So far I’ve got Santa driving a train full of presents, elephants, hippos, and lions for Christmas, and a snake coming out of an egg with bunny ears for Easter). I still need Summer, Halloween, Thanksgiving, Valentine’s Day, and a page for their move from California to Colorado. Ideas please! I can’t wait to show pictures when I’m all done. It’s been a labor of love. 

Monday, July 19, 2010

New Baby Book- VERY GIRLY :-)

Here is a baby book I worked on last night and finished today (after helping the mothership make her pond look gorgeous!). I love love love the paper and almost didn't use it, just because it was so pretty. I used the same G file that I used on the last book, but with the different paper and accent pieces I think it has a completely different look!

Now that I look at the pictures, the pastel colors don't show up very well in the photo (and the fact that I took it in a dark kitchen at 1 am... It's really cute, though. I love the babies! (One is missing a belly button, though... I need to fix that!)

Next page... I used mostly New Arrival, but also threw in Sugar and Spice and Paper Doll Dress Up, too!) I inked the edges of everything, and used my bind-it-all (1 1/4 inch) to bind it. If you don't have one of these machines, you have no idea what you're missing. Even the husband loves it, and he is not a fan of crafting!

The paper is from Brenda Watson (In the same set I used to make the FM album in my previous post). There were 18 sheets of paper in this grouping, I think I used 17 and a half of them! Her designs are so beautiful, and the colors are pretty easy to match! (I love the safety pins... I used a silver marker to color the "metal" part. TOO CUTE!)

Next page... *sigh* I wish you could see the detail in the paper. The pictures truly don't do this book justice!

I LOVE the carriage on Sugar and Spice! And right now I'm addicted to the MS punch... it just sat on my table waiting to be incorporated into this book! I also used Stampin' Up blender pens A LOT. I've got a couple sets of the Stampin' Spots, and the colors i have seem to flow seamlessly into the design.


I put the MS border around the edge of the "giftbasket" which I thought was pretty cute! I colored the bottle and bear with the blender pens, the rolled towel is a different purple pattern from the set.

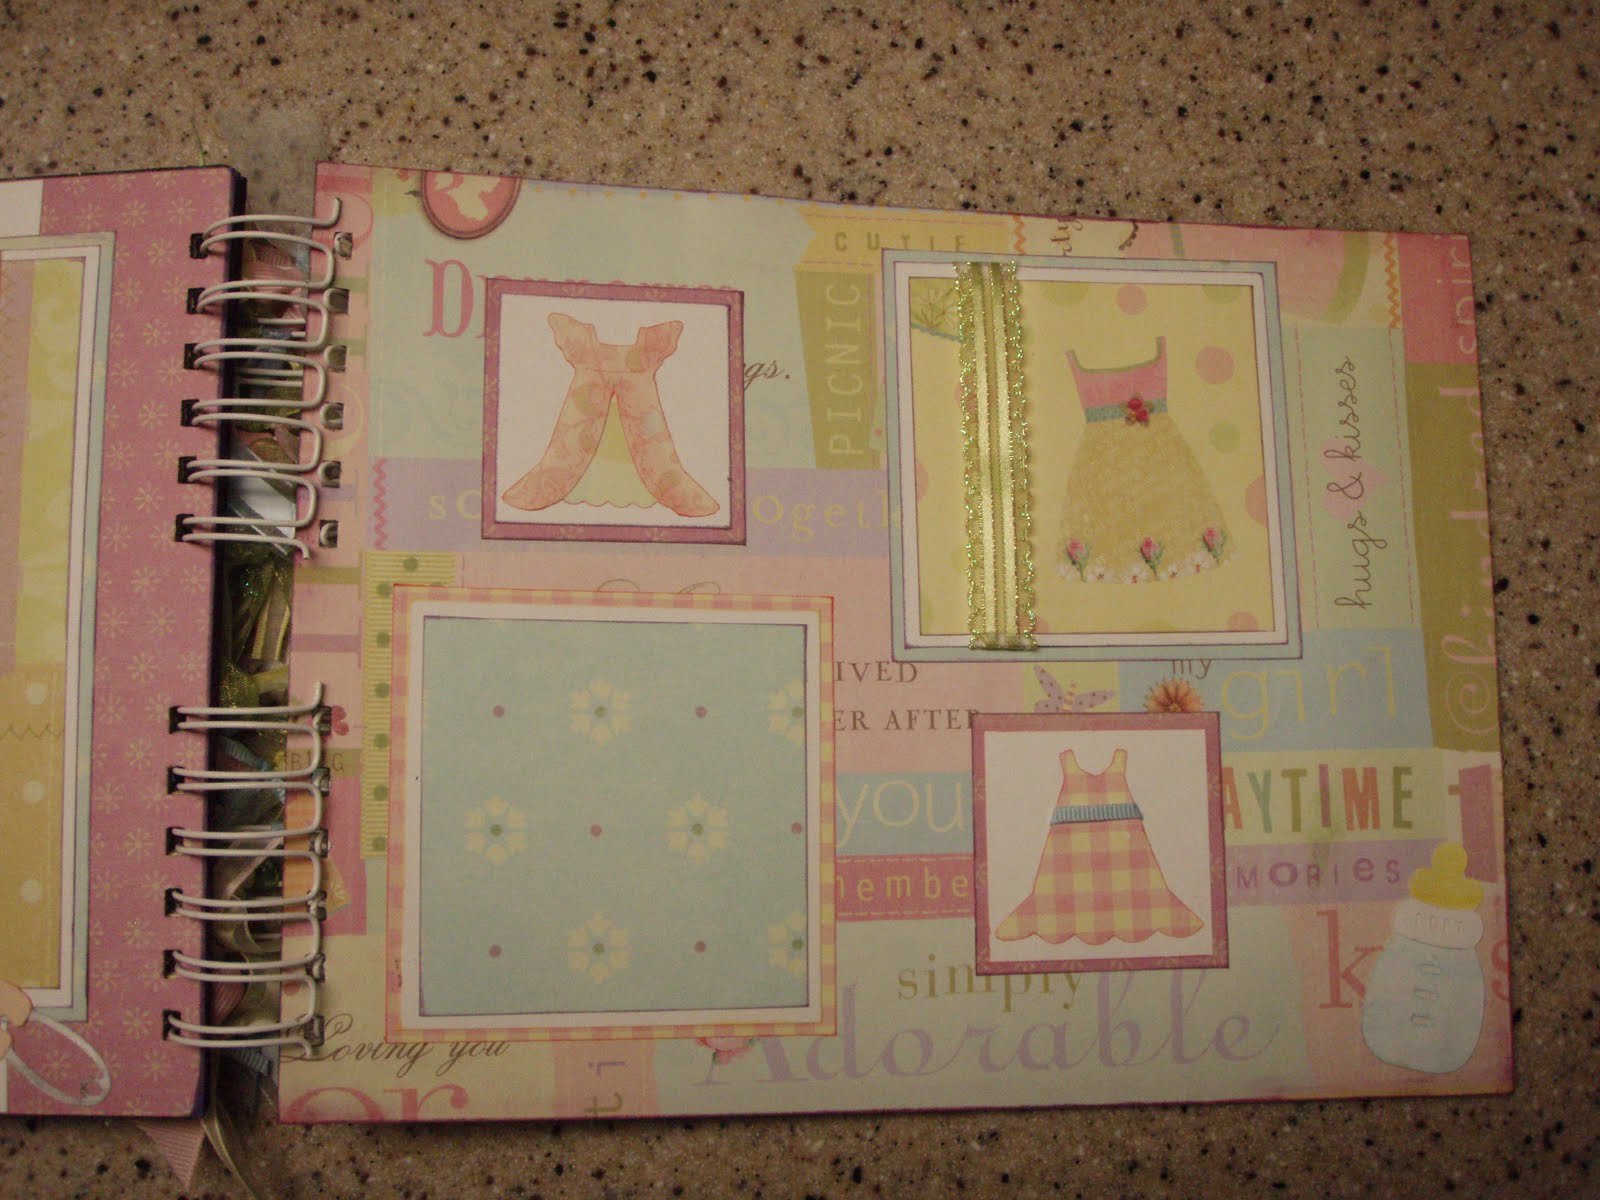
I love ribbon, too, if you haven't noticed! And this page is SO adorable! I love those dresses (cuts from PDDU). I thought the matted dresses matched the paper so well (the yellow one is the paper). Another example of bad photography: you can barely see the bottle in the corner. In real life, it really shows up nicely.

Here is the back page, I used one of the stork blankets to sign my name. I can't WAIT to get my stamp in the mail. It's going to be AWESOME :-) I do kind of like personalizing the books with an image that matches, though. And since I usually cut out about 5 times as many things as I need to, I've always got plenty of cuts to choose from!

And now my post at 3 am is finally finished. I think I rambled a lot, but it's because I'm kind of hyped up. The Martha Stewart Cake premiered on HSN tonight, and I won a cartridge through a contest they were having on Facebook. I can't seem to sleep, now!

Saturday, July 17, 2010

Amore Album

Last night while using my Cricut to cut out pieces for a new baby book I'm in the process of creating, I decided to use my scraps to make a simple album using French Manor. The book is 6 inches tall and the longest page is 12 inches wide.

Pretty simple and classy, I think. The journaling spot on the first page is for explaining what's in the book, or to/from if it was a gift.

I used a Martha Stewart punch to do the borders in black. I just thought that page needed something!

I LOVE the furniture on this cart. And the borders! The next page is pretty simple... I might go back and add something. It would work great for a close-up portrait, though!


And the next page

I wish I had some different ribbon on here, but I don't think I've ever used black/ivory as my color scheme so I had to use what I had on hand. That consisted of skinny black, skinny ivory, skinny polka-dots, and thick polka-dots.

I LOVE the peacock. I didn't put his tail on straight on purpose, just to give it some depth. And the chair is just to cute. And I love the border... which reminds me how much I love my Gypsy!

And on the back I had this amazing frame left over (You can't see the ivory details, but trust me, they're there!) so I used it to write my name on, along with a cute little bird cut.

All of the paper came from a new stack I bought at ACM's by Brenda Watson. The new Baby Book is using her paper, too. I love her designs!!

Thursday, June 17, 2010

In Progress Album

Shhh... this is my secret project that I worked on yesterday, today, and will continue into the near future! It's completely UNFINISHED so no judging! I just want to share what I've created thus far. Last night I used chipboard cut into 6x6 squares and leftover K&Co paper (and my trusty bind-it-all) to make an album. I cut out some designs with my Cricut on gold paper. Then I inked the edges for character. By that time my hands were sticky and filthy, so I quit. Today, though, I worked on it. I was having a lot of trouble being inspired, though, so I thought, "Hmm... what do I have pictures of that would look good in here?" My answer... absolutely nothing. So I went and checked my Facebook! While I was there, I realized my (gorgeous) older sister has a ton of pictures of herself on facebook, and she's quite lovely in them. Soooo I printed off 18-20 photos (of her 5,000) using the "false color" button on my Word for Mac program in various sizes. I matted them onto the same gold paper I had cut some designs out of, and from there I began my adventure of making her a book. Depending on when I get it finished, it might be a birthday present. Or I might just give it to her when she's having a bad day (after all, who doesn't enjoy looking at pictures of themselves!?!)
You can clearly tell I'm no where near being done- even the pictures that have photographs aren't done.... neither is the cover. I just needed a break and wanted to post something, since I didn't yesterday. At all. So anyway, lovely pictures!

Sunday, June 13, 2010

Deep Rooted Love Album


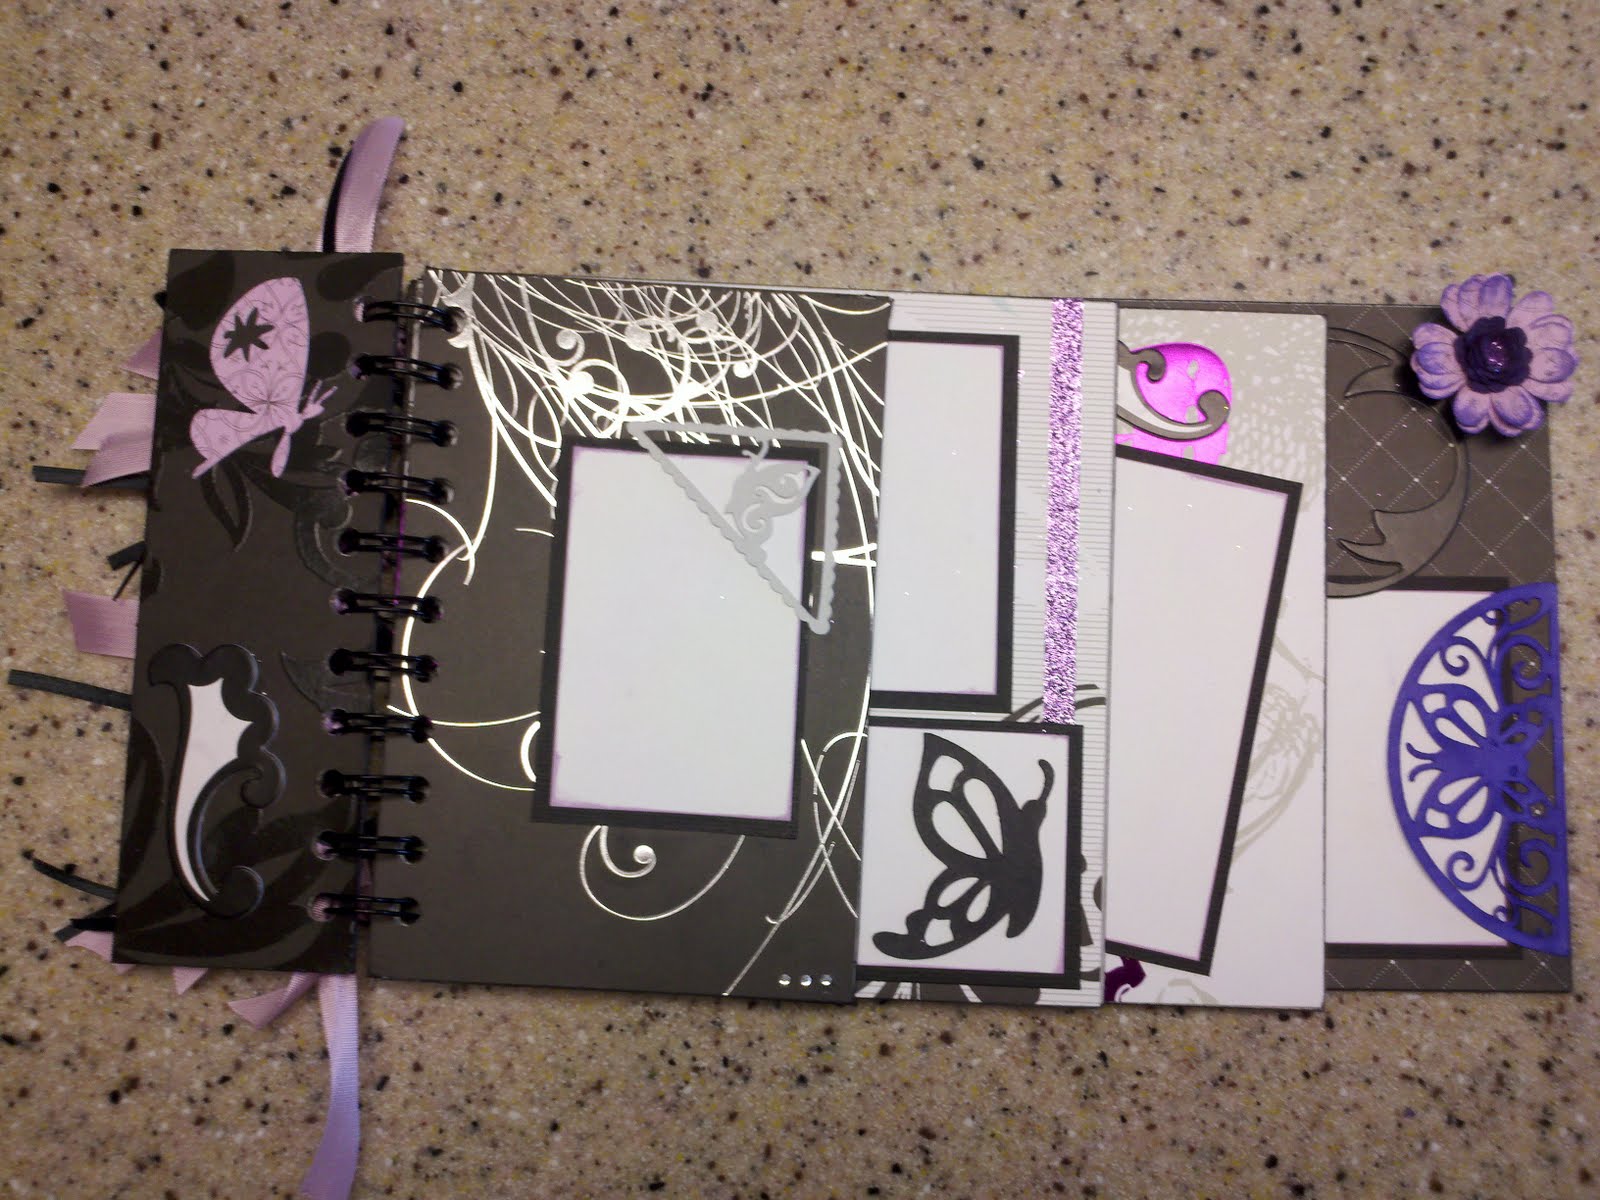
A friend of mine bought me this beautiful paper-set for Christmas, so I made an album (5 1/2 x 12 inches) for her with it using chipboard for the pages, my bind-it-all to bind it all together, and of course my Cricut to cut out the adorable tree on the front, as well as several other decorations in the book itself! I also used some ribbon to accent some of the pieces. I absolutely loved the way it turned out. Each of the 10 pages has several places for her to post photos using double-sided tape or a photo-safe glue-stick.

Library Shelf Stained Glass

 My basement guest room has a deep window that is eye-level with our drive-way. When we moved in I decorated the room with a dark cottage co...