Saturday, March 1, 2014

More cards

"The key to a happy life is laughter, friendship, and love"


This one is simple and elegant.


A thank you card...


And I bought this cutie-patootie door decoration at Joann's with a gift card I had received for Christmas. It matches my room perfectly. Love it!


Monday, February 17, 2014

Happy Valentine's Day!

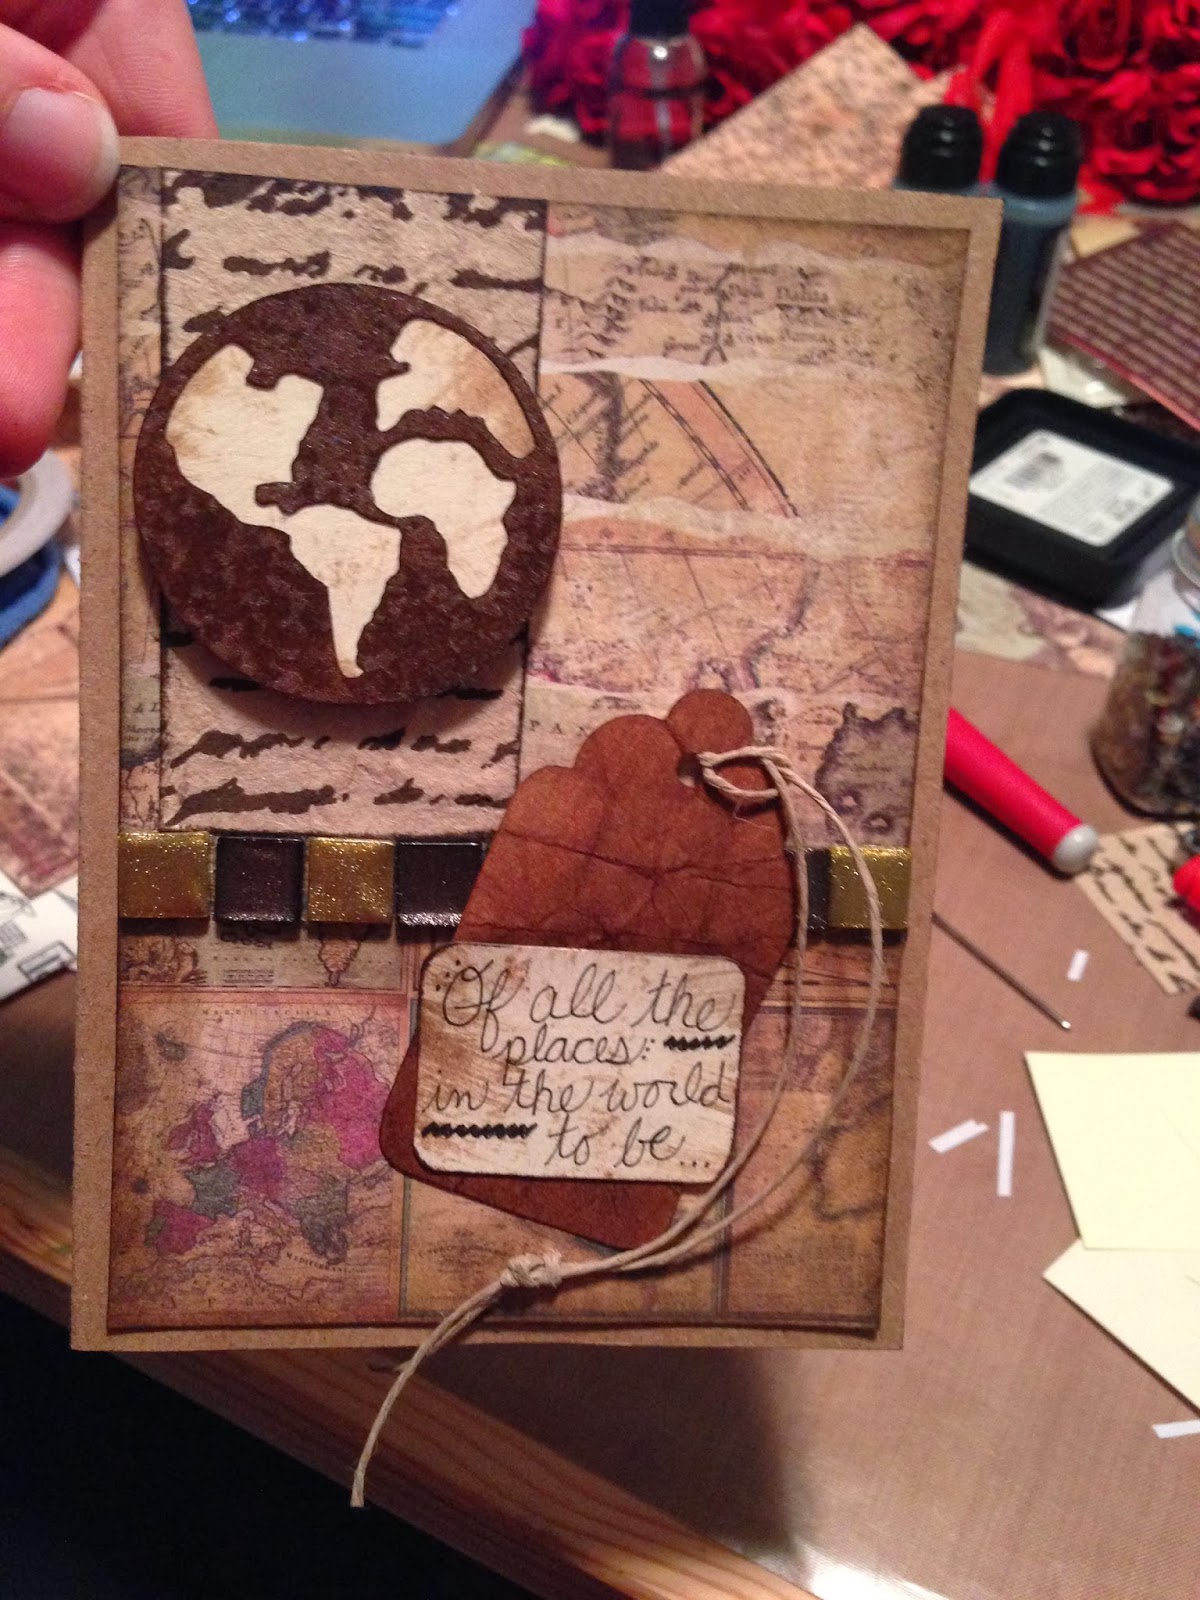
Here is the card I made my sweetheart for Valentine's Day. It says "Of all the places in the world to be... with you is my favorite!" I used the globe from Going Places cut onto brown paper. I sprayed it with "Goosebumps" to give it a leathery feel. It's super cool! 


Another card- the first in a series I'm working on- is this cute little card that could be used for pretty much any purpose.


And here is a cool picture of the foot and a half snowstorm we got Wednesday-Thursday last week. Luckily we have a 4WD truck, otherwise I'd still be stuck in my driveway! This picture was taken on Friday (Valentines) as it was starting to melt.

Wednesday, January 29, 2014

Dogs and Babies

My mini schnauzer, Toby, recently chewed up a really nice pair of shoes for the first time ever a few days ago. I bought a pair of quality flats to wear at school since my foot/ankle had been giving me such problems, and these shoes felt like a dream. So yes, anyway, I spent almost $200 on a pair of shoes (yes, I know... $200?!? But trust me, it was worth it) and my dog chewed one up less than 6 months later. The company is WONDERFUL, though, and offered to give me a discount on a new pair if I would send a picture of the shoe and offending pup. I sent them this dog-shaming picture and ordered a new pair the very same evening:

Anyway, he inspired me to pull out some doggie paper and make a few cards. For starters, I practiced coloring with my copics on a piece of yellow card stock. 


Then I made these!


And one of my co-workers lost her cocker-spaniel after a long sickness, so I made her a sympathy card.

I also practiced coloring a new island stamp and playing with Tim Holtz distress inks to make a thank you card.

And for some reason I never posted about this I made in the fall... we had a baby shower at work for one of the ladies. This card was made out of a sheet of white paper and some ribbon (yay Cricut New Arrival and my copic markers!)


 And, being on the hospitality committee, I was responsible for making a banner. A friend gave me some zebra print fabric, so I covered it with starch and added some more Cricut lettering and ribbon and other decorations for cuteness!


Tuesday, December 3, 2013

Halloween Costume- Belle

I've been so behind it's already December and I haven't shown off my Halloween costume yet! Oh my! Well, I decided to go with Belle from Beauty and the Beast this year (my school/work calls it "Book Character Day") and I was feeling brave so I bought the fabric and made my own costume. I'm not sure what I was thinking, as I was on crutches wearing a huge dress, but it worked and I didn't fall. Yay!

Here is the skirt part...


And here is the final outcome! I can't believe this is the only picture I got. My classroom was cold so I wore a sweater. Anyway, it was cute! I'm holding up my "Classic Fairy Tales" book, although the beautiful yellow-dressed Belle was technically the movie version, not from a book. Oh well!

Charmed Necklaces

Several of you know that I was out of service for a couple months after having surgery on my foot (I've got a slight scar now with cute little stitch-dots around it) and couldn't go upstairs to my craft room. I'm glad to say that I'm off crutches now and working my way to getting back to normal. My dog, Elsie, has puppies back at the beginning of October, and they're finding their forever homes this week! There are four cute white snuggly creatures and one salt-and-pepper (which looks alarmingly a lot like her grandmother, my dear Sophie, that we lost last Christmas!) 


The last couple of posts have mentioned a few things I've been into lately, and this one is special because I'm making these cute little necklaces for my co-workers for Christmas! Other than the fact that my fingertips have been sticky for a couple days now, it's SO much fun! I've been going around the house trying to find things that will fit inside the pendant shapes I bought from Sun and Moon Crafts. They have a few sampler kits I've tried before (my sisters and I have a tradition of making crafty things on Christmas Eve while waiting for the rest of the family to get their act together to open presents) but check out the prices on the individual pieces! There was a girl down on the market in Roanoke selling these for $15-$20! That's CRAZY since each piece is less than 50 cents. I bought some long necklaces (36") and shorter ones (24" and 20") and lots of different size pendants. I bought the glass toppers for some of them, and the glaze to use with some glass tiles. Such fun!

I love this balloon!

This butterfly is glittery!

Three snowmen


My dining room work-table (Why didn't I use my craft room, you ask? Because it's still messy from the Wand Making I did last week.) 

And just for fun, here are a couple pictures of my Christmassy house!


Christmas Wreath

I saw the CUTEST homemade ornament wreaths on pinterest (no idea where or I'd give the link!) so I ran to Walmart during the Black Friday weekend and bought some non-shattering plastic ornaments.

First, take an old metal clothes-hanger (disclaimer... the cheap, easy to bend kind works better than the high-quality ones!) and untwist to make a general circle shape. Then slide on about 50 ornaments, adding a smaller one for every 2-4 big ones. The more unique the ornaments, then cooler effect you'll get! When you've filled up the hanger (I had two ornaments leftover from my set) just twist the two ends together. If you used the high-quality clothes-hangers you might need pliers to get the pieces just right.


Add a bow and POOF you're done! (I totally did not even realize my wreath was crooked when I hung it up to take a picture! I do realize that the hanger is glaringly red... I need to fix that!! :-/)

HP Wand-Making

*Here's to hoping my little sister doesn't happen upon this post before Christmas!*

My little (college-aged, not really little!) sister finally finished reading Harry Potter this year, so she and I finally have something in common! I ordered her all kinds of HP-themed things for Christmas this year (Griffindor scarf, muggle t-shirt, snitch necklace, etc.) but decided to make the wand myself. I looked up several tutorials on Pinterest (my go-to site for EVERYTHING these days) and figured out how to make one... or a bunch... using materials I had on hand.

I started out with several bamboo skewers and wrapped random items around the bottom few inches of each one. Then I covered the objects with hot glue. For some, I just played around with the glue (slowly watching it run as I twirled it around and added a few drops of gold Tim Holtz Adirondack alcohol ink mixative. 


It was a little messy!

I painted on the mixative after the glue was dry over the entire wand on this one.

Here is a button I wrapped in a bit of fabric and added a rubber band for dimension.

This one- an old clothespin glued to the end of a skewer- was my favorite! 

 You can see how I'm adding more glue and more gold coloring on each one. They all turn out differently.

I swirled glue around the entire skewer of them when the base was warm enough to handle. On some of them I made a spiral pattern, on others I pressed the glue gun tip onto the wood to smear the glue around. Both gave awesome effects.

I colored them with various shades of brown copic markers. I'm pretty sure I ruined a couple nibs, but the result was well worth it!

And here they are! Seven finished wands, each magically perfect in its own way!


I'm not sure what I'll do with the extras just yet... but I couldn't resist making several!